- START EARLY! This will give you the most flexibility and pricing with everything from tent, table and chair rentals to bargain hunting for decor and games. This will also give you the best choice of date for your event, and be sure to tell your grad to communicate early with their friends about when their party will be to avoid double booking. You can also save $ by choosing to co-host your grad’s party with one of their friends.
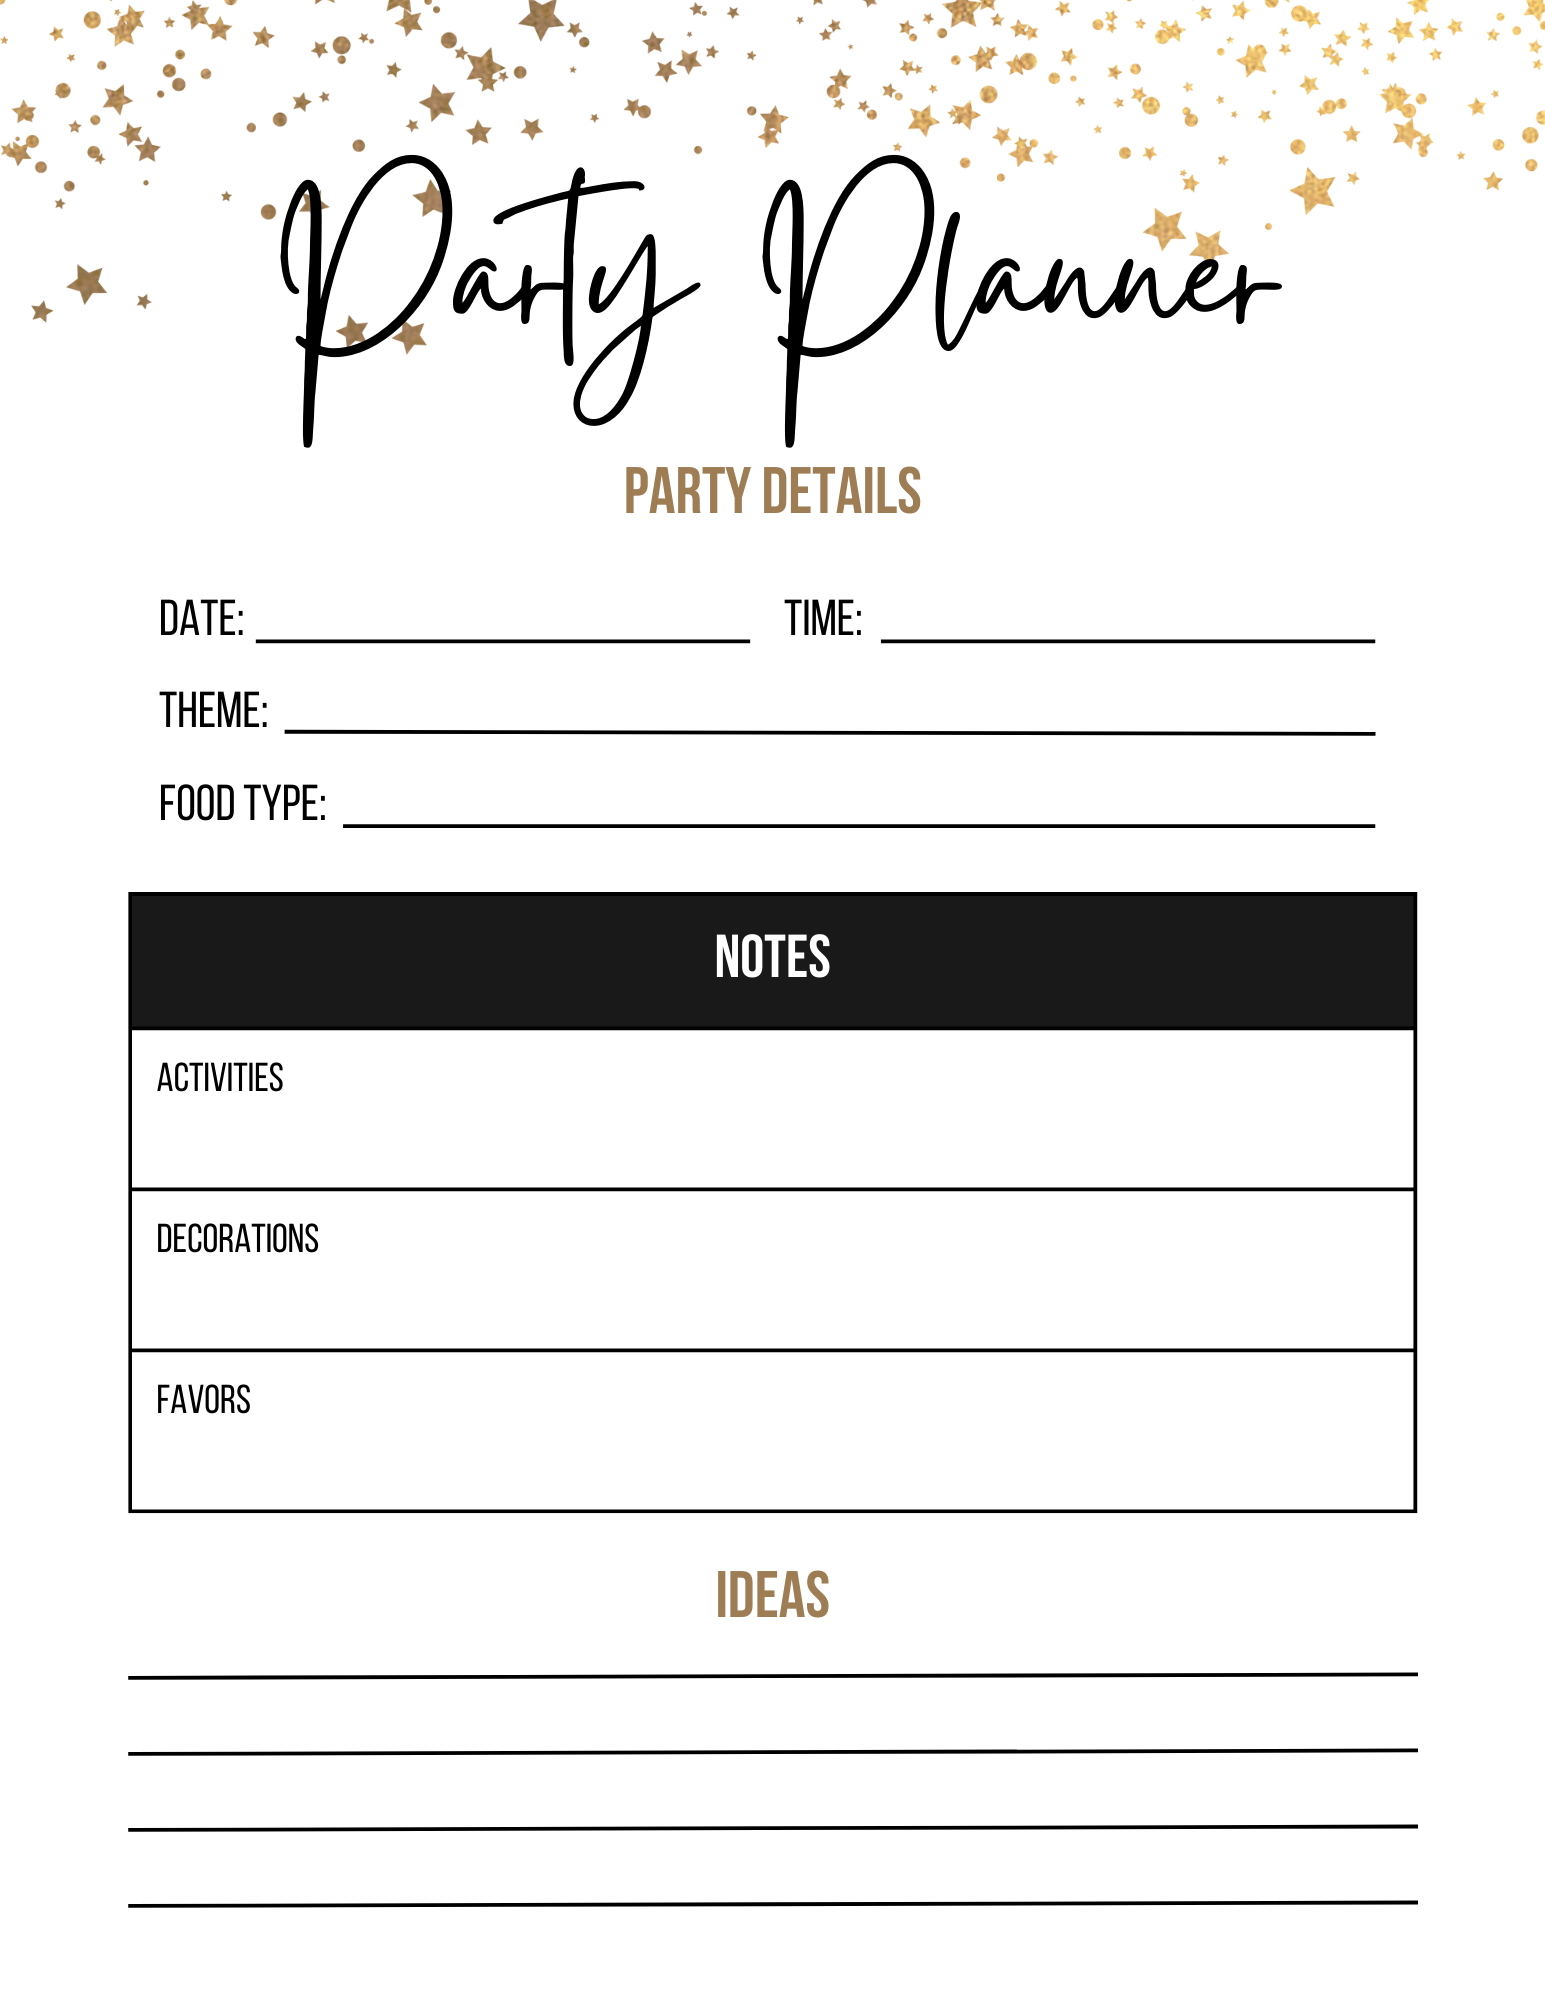
- USE A PLANNER! Whether it’s paper or digital, a planner will help you stay on task, visualize everything that needs to get done, and keep you within budget. Feel welcome to download my FREE printable planner or edit the template HERE.
- PICK A DATE & TIME – We selected mid-July. Some things to consider when selecting the date:
- Weather for that time of year in your location. We live in the northeast so it’s typically around 80 degrees F and rains anywhere from 30-50% of the month depending on the year. This means renting a tent would protect our guests from both sun or rain conditions.
- Any other summer travel plans you and your guests may have. So this means you may opt to avoid holiday weekends, and if a particular family member or friend that you really want to attend is planning a vacation, consider dates outside of that time.
- Your graduate’s friend’s grad parties. Have your grad check with their closest friends before picking a date to ensure you’re not planning for the same date!
- If your graduate’s next step is college away from home, avoid selecting a date too close to when they will need to leave. They’ll (and you’ll) be too busy packing and making sure they have everything they need, and you won’t the added stress of hosting a party to contend with!
- CREATE PRELIMINARY GUEST LIST –
This step is important to give you an idea of how many people you can expect to attend. You’ll need this info before you can plan any further.
- RESERVE TENT/TABLE/CHAIRS (if needed)
If your house is large enough to accommodate your guest list, you can skip this step!
- Get quotes from at least 3 companies to get the best deal, but also read reviews to ensure excellent service. We got quotes ranging from $400 to $800 for a 20’x40′ tent.
- For our party, we’ll be inviting about 130 people, but expect about 90-100 to show up. We know some of these guests won’t necessarily arrive right when it’s time to eat, so I’m planning seating for 80.
- We opted to rent tables and chairs, but you may also be able to save $$ by inquiring with your school or church or other groups you’re connected with about borrowing tables and chairs.
- Linens – We wanted a more upscale feel so instead of buying plastic table coverings from the Dollar store, I went on the hunt for high-quality, inexpensive linens. The tent company also rents linens but at $11 each, I thought I could get a better deal (and I was right!). I found several people on Facebook marketplace selling unstained white linens in the size I needed and was able to get them for a fraction of what it would have cost me if I had rented them. You may also consider buying linens like these from Amazon for about the same cost as renting, then re-selling them on an online marketplace like FB for half the price you paid.
- PLAN YOUR FOOD
- Decide whether you will have your party catered, if you’ll prepare the food, or if you’ll do a combination of both.
- In most cases, preparing the food yourself and choosing low-cost dishes like pasta and salad will save you the most $$ but there are some things you should consider:
- Will you have the time to prepare the amount of food you want to serve?
- Will you have space to store foods that need to be kept cold or hot after you’ve prepared them?
- What is the cost of you preparing the food vs having the same food catered?
- We opted for a combination of catered and home prepared food because of time and space to store food. I knew I’d have a lot of set-up to do with my DIY decor so I will be preparing easy foods like desserts, salads and baked pasta dishes, while we’ll have the main entree items catered and ready for pick up right before the party.
- If catering, start gathering price lists from local catering companies at least 3 months in advance and try to nail down your menu as soon as possible so you can book your caterer.
- SELECT A THEME/DECOR
- This can be as simple as the school colors for the high school your grad attended or the college they’ll be attending, or something more elaborate based on your graduate’s interests.
- Things to help your theme pop:
- Table runners – We’re using white table cloths with satin runners in our theme color to give our tables a polished look
- Table Centerpieces – these will be budget-friendly mason jars filled with inexpensive bulk flowers along with a photo of our graduate at various stages in her life.
- Favors – I wanted to have something for the guests who linger past dark to snack on that didn’t require hot/cold storage so I’m putting together these popcorn cones filled with the best kettle corn you’ll ever taste from the NYC Kettle Co. Lucky for us, they relocated their food truck to upstate NY during the pandemic and I’ll be able to pick up large bags of popcorn a day or two before the party.
- Cake/Dessert display – will feature custom decorated sugar cookies that I’ll make, but you can buy store cupcakes and inexpensive cupcake picks that coordinate with your theme.
- Balloons – Using balloons are a great way to add a pop of color throughout your setup, but as we all know, helium is incredibly expensive these days so I searched for solutions that don’t require helium, but still give me the height I want. I found these floor setups and tested them at my sister’s baby shower. I ended up super gluing the pieces together to prevent the whole thing from coming apart, and for an outdoor event, I’ll definitely need to add sandbags to keep them from blowing away, but I think they’ll do the trick. I’m also planning to make balloon columns and a balloon semi arch backdrop for photos.
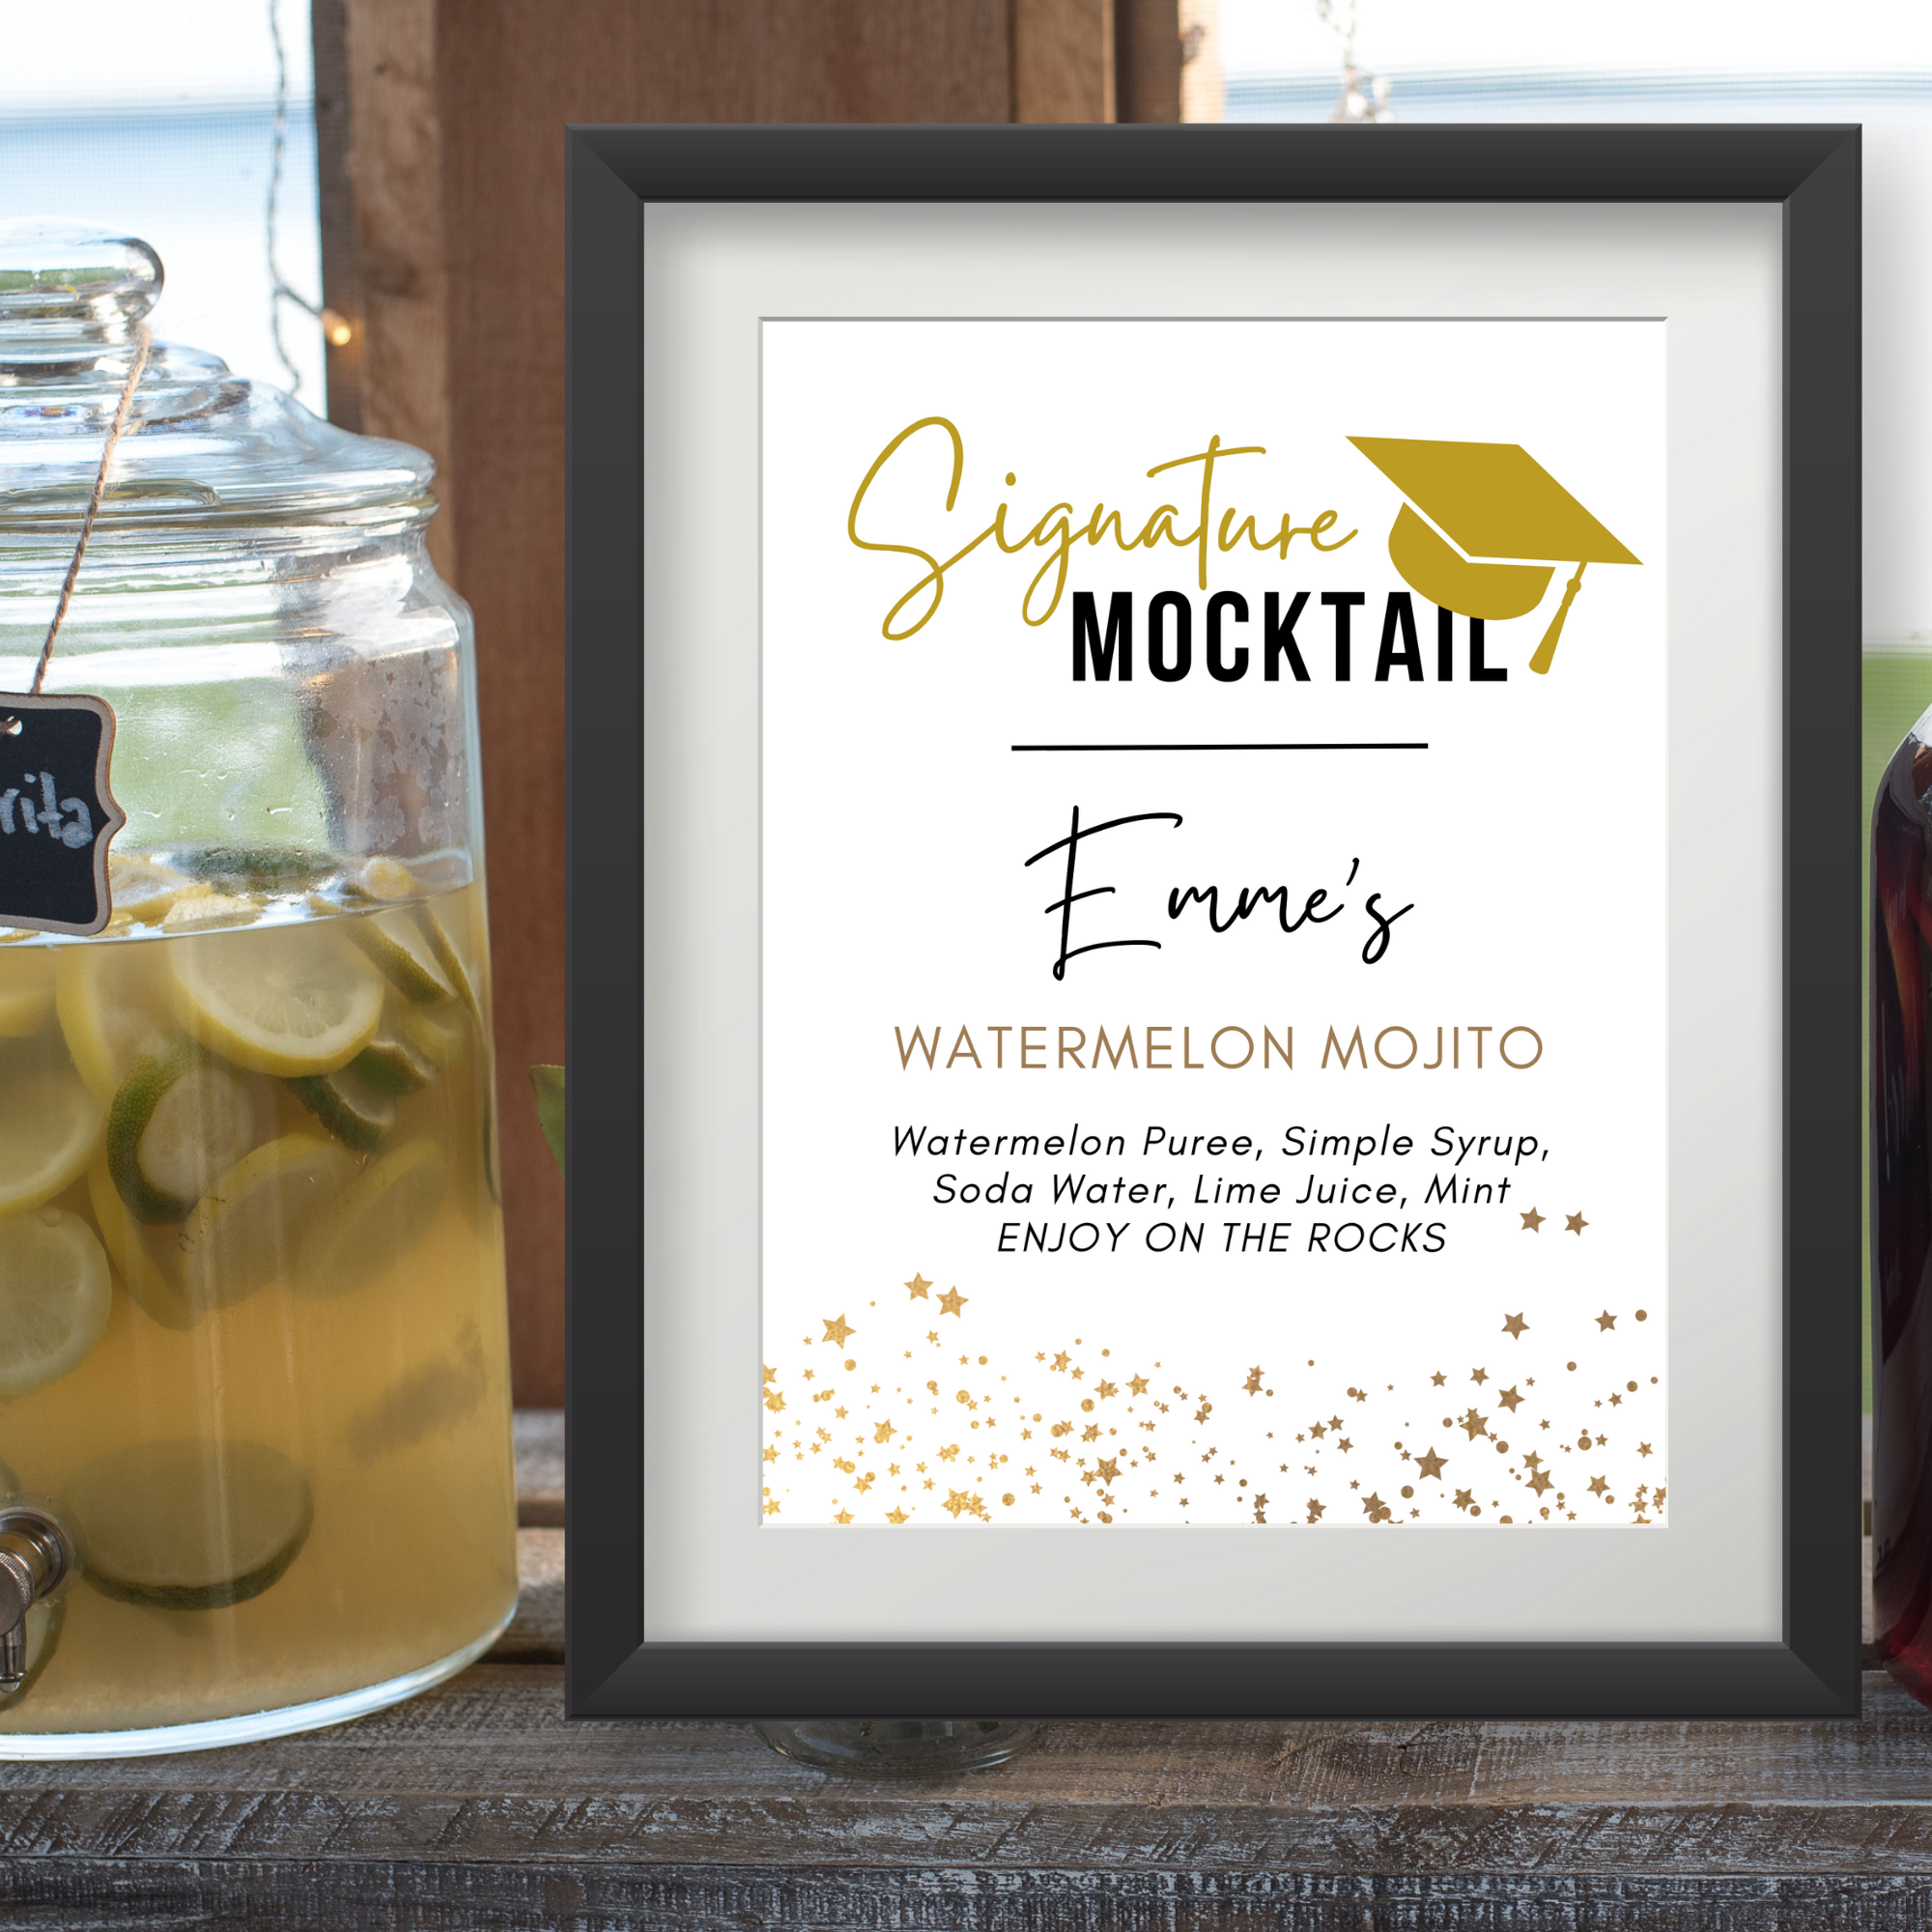
- Signage – Create a signature mocktail or drink for your guests to enjoy and post a themed sign with it’s ingredients; Follow these instructions for DIY Food Table Signs to give your buffet an upscale look!


- ROUGH OUT A LAYOUT
- I used Canva to create a mock-up of what my backyard layout would look like. This will come in handy when I’m directing my husband and kids with set-up so they can just look at the plan and take it from there. My mockup includes table sizes to scale and locations everything from tent/tables & chairs to garbage cans, food tables, gift table, signs, lawn games, and photo backdrop.
- This also helped me to think of things I’ll need to create signage for things like garbage vs recycle, lawn signs directing guests to the backyard from our driveway, etc.
